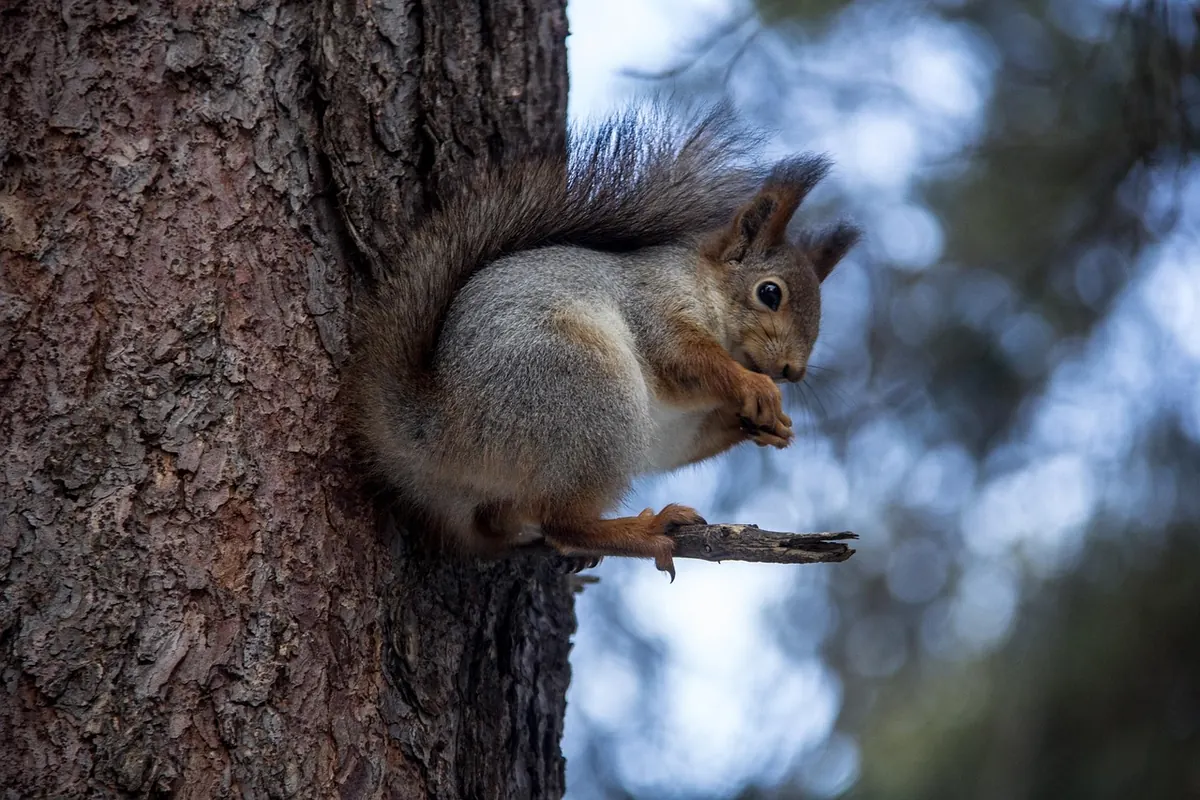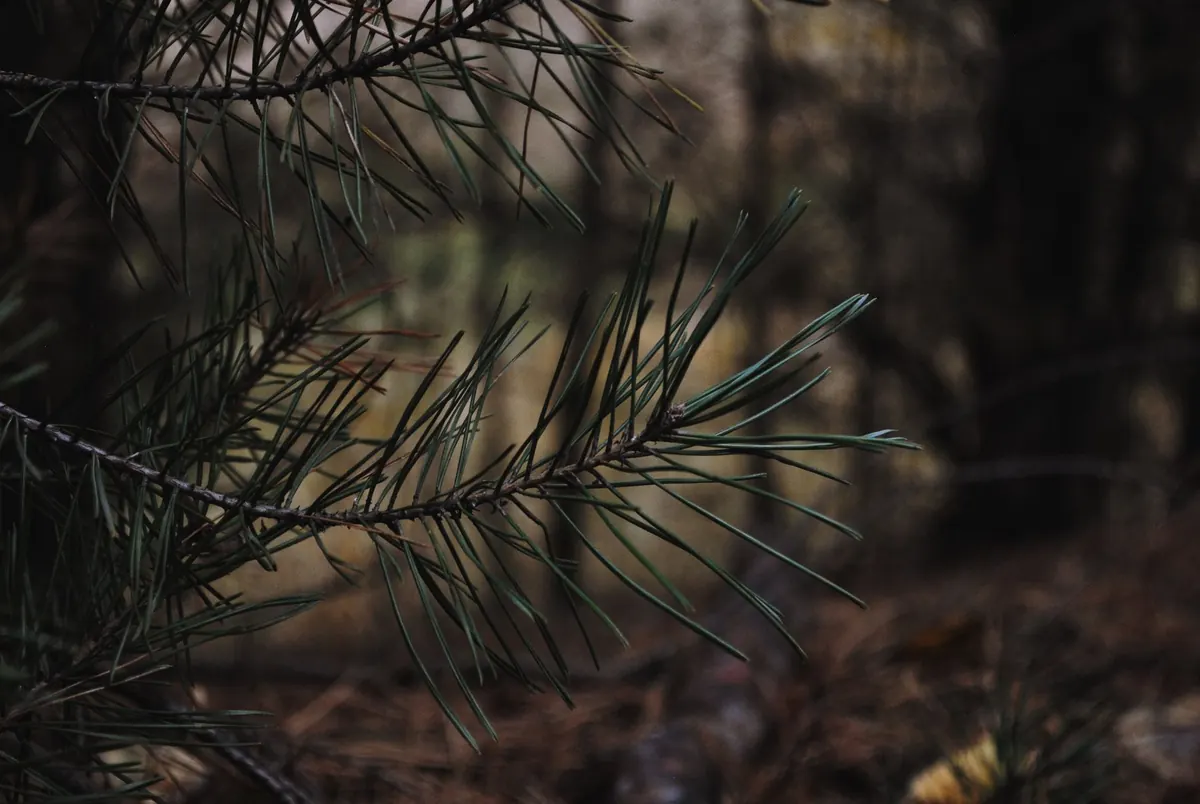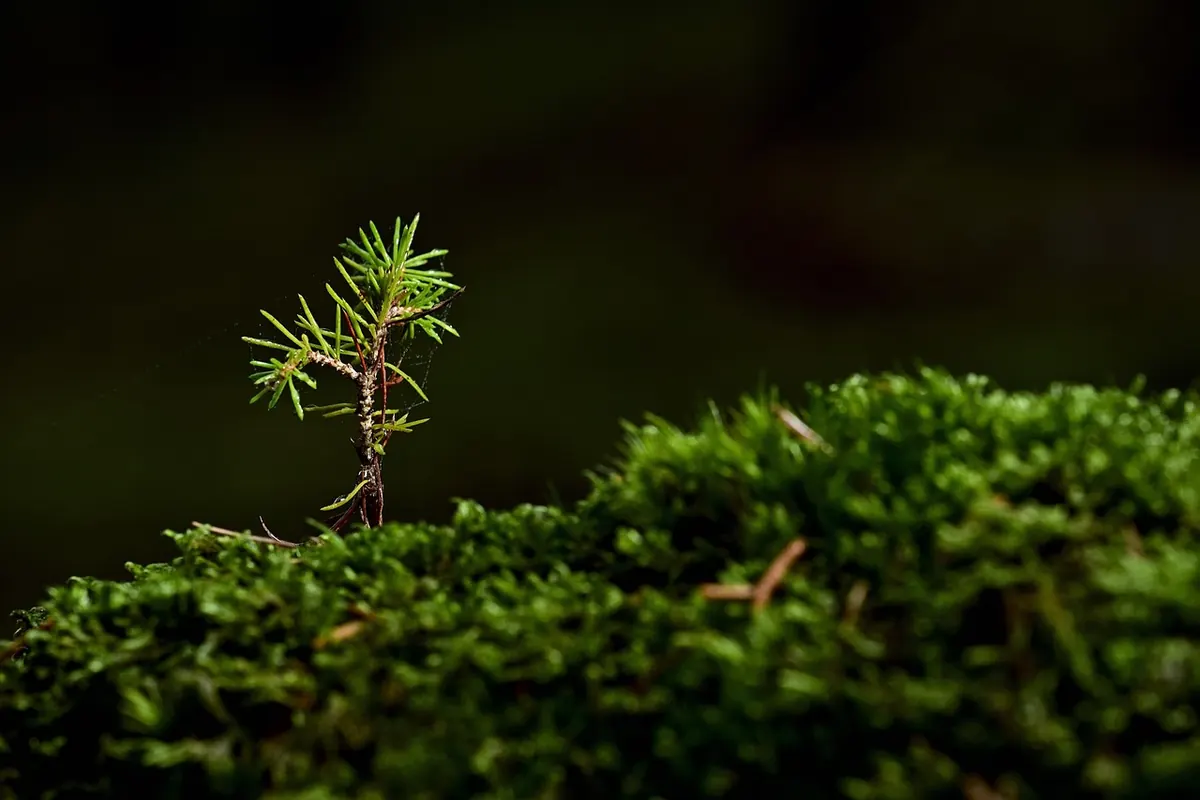
Scots pine (Pinus sylvestris) is one of only three conifers native to Britain, and the only one that forms the old Caledonian pinewoods of the Highlands. Plant one in a garden and you get more than an evergreen: pairs of blue-green needles, bark that turns warm orange higher up the trunk, and a tree that feeds siskins, red squirrels and a long list of insects. Get the planting right and it settles in with barely any fuss afterwards.
What it does need is space and drainage. A Scots pine put in the right place, at the right depth, will comfortably outlive the person who planted it.
Choosing the right spot
Scots pine is a tree of open, light ground. It wants full sun — six hours or more a day — and it dislikes sitting in wet soil at any time of year.
Space is what most people underestimate. A mature garden specimen can reach 15 metres or more, with a spread of six to eight metres across the lower branches. Plant it at least eight to ten metres from the house, five metres from a boundary you care about, and well clear of patios, drains, soakaways and overhead cables. Pine roots are unlikely to trouble sound foundations, but they will lift paving and will find their way into anything leaking.
Think about shade as well. Once the canopy closes, little will grow beneath it, so put the tree where its shadow falls over rough grass or a shed rather than your best border. Young pines are extremely cold-hardy, so a frost pocket is not the problem it would be for a walnut or a fig. Exposed sites are also fine in the long run — but a bare-root tree on a windy hillside will rock in the ground for its first winter, so plan to stake it.
If your garden is small, be honest about it. There are slower-growing and dwarf cultivars, but none stay truly tiny forever. A better choice for a courtyard may be a different plant altogether.
Testing and preparing the soil
Scots pine likes light, sandy, free-draining soil that is acid to neutral. It copes well with poor, dry, stony ground — that is its natural habitat. It sulks on heavy clay, on chalk, and anywhere water stands after winter rain.
A quick drainage test is worth ten minutes of your time. Dig a hole about 30cm deep, fill it with water and let it drain, then fill it again. If the second lot of water is still there an hour later, drainage is poor and you have three options:
- Plant on a gentle mound of improved soil mixed with grit, so the root collar sits above the surrounding ground.
- Pick a sloping part of the garden where water never collects.
- Choose a different tree. A pine on wet clay will struggle for years and eventually die back.
Prepare the ground by clearing grass and weeds from a circle about a metre across. That is not tidiness for its own sake — grass robs a young tree of water and is one of the main reasons new plantings fail. Fork over the base and sides of the planting hole if the soil is compacted, but there is no need to fill it with compost. Pines do best in ordinary soil; rich planting mixes encourage soft, sappy growth and can cause root problems.
When to plant
Bare-root and rootballed pines should go in between November and March, while the tree is dormant. Avoid planting when the ground is frozen solid or standing under water — wait for a better week rather than forcing it.
Container-grown trees can be planted at almost any time the soil is workable, which makes them useful if you have missed the bare-root window. Even so, autumn and early spring are kindest. Autumn gives the roots warm, moist soil to grow into before winter; spring gives the tree a full season of light. What you should avoid is planting into dry, baked ground in the middle of summer and then leaving it to fend for itself.
Planting, step by step
- Dig a hole two to three times as wide as the rootball, and no deeper than the roots actually need. A wide hole is useful; a deep one is not.
- Find the root collar — the flare where the trunk meets the roots. It must end up level with, or a fraction above, the surrounding soil once everything has settled. Planting too deeply is the single most common mistake with pines, and it kills slowly over several years.
- For a container-grown tree, gently tease out any roots that have circled the inside of the pot. For a bare-root tree, trim broken or damaged roots with sharp secateurs and keep the roots damp at all times — never let them dry out in the sun.
- Set the tree in the hole and check the level with a cane laid across the top. Adjust the soil beneath the roots until it is right.
- Backfill with the soil you dug out, firming it in layers with your heel, working around the tree rather than stamping on the roots.
- On an exposed site, drive a short stake so about 45cm sits above ground, and tie the trunk to it with a soft tie in a figure of eight. Remove the stake after two years.
- Water thoroughly, then spread a mulch. If rabbits or deer visit your garden, fit a spiral guard or a mesh cage at the same time — it is much easier now than after the bark has been stripped.
Watering and mulching in the first two years
Watering is what makes or breaks a new pine. In dry spells through the first two growing seasons, give roughly ten to fifteen litres a week, poured slowly around the root area. Sandy soils and hot weather mean more; heavy soil means slightly less, but never none. A light shower does not count — push a finger 5cm into the soil and water if it feels dry.
Mulch in spring, while the ground is still damp, with 5–8cm of bark chippings or leafmould spread over the metre-wide circle. Keep the mulch about 10cm clear of the trunk. Piling it against the bark traps moisture where you do not want it and gives mice and voles a covered route to chew the stem.
Keep the circle weed-free for two years. Do not feed the tree in its first year, and after that it generally needs no feeding at all — an established Scots pine on poor ground is entirely content. Extra nutrients simply produce floppy growth that aphids love.
Long-term care and common problems
Pruning
Pines do not regrow from old wood, so cutting back into bare branches leaves permanent stubs. Remove dead, damaged or crossing branches in late winter, and take out a double leader while the tree is young: pick the strongest upright shoot and cut the competing one away cleanly. If you want a denser shape, shorten the soft new growth — the "candles" — by about a third in late spring before the needles harden. Go lightly, or leave well alone.
Pests and diseases
Pine aphids are the most common nuisance, leaving sticky honeydew and a sooty mould on anything underneath; a strong jet of water and patience usually sees them off. Red band needle blight shows as banded browning along the needles and is worse in damp, crowded conditions, so good air circulation around the tree helps. Honey fungus tends to finish off trees that are already stressed, which is another reason drainage and early watering matter so much.
The first year in brief
Water deeply in dry spells, keep the grass off the roots, check that the tie is not cutting into the trunk, and resist the urge to fuss. A Scots pine that has been planted at the right depth in free-draining ground needs very little from you beyond the first two summers. Do those things and you will have a tree that looks better with every decade — orange bark, a wide crown, and a home for wildlife long after the planting spade has been put away.
Photo: jggrz / Pixabay